
The group head is where the magic happens; it’s where your water will come into contact with your coffee and it’s where that beautiful espresso is made. Naturally then, it’s one of the most complicated parts, and can get the dirtiest. Regular maintenance of the group (I do mine yearly) can greatly increase the lifetime of your machine. These instructions break it all down and make it nice and easy too.
This guide features a pre-millenium model Europicolla, but the advice can be applied to other models in the range too. Just make sure, if you’re buying replacement seals, you buy the right size for your model.
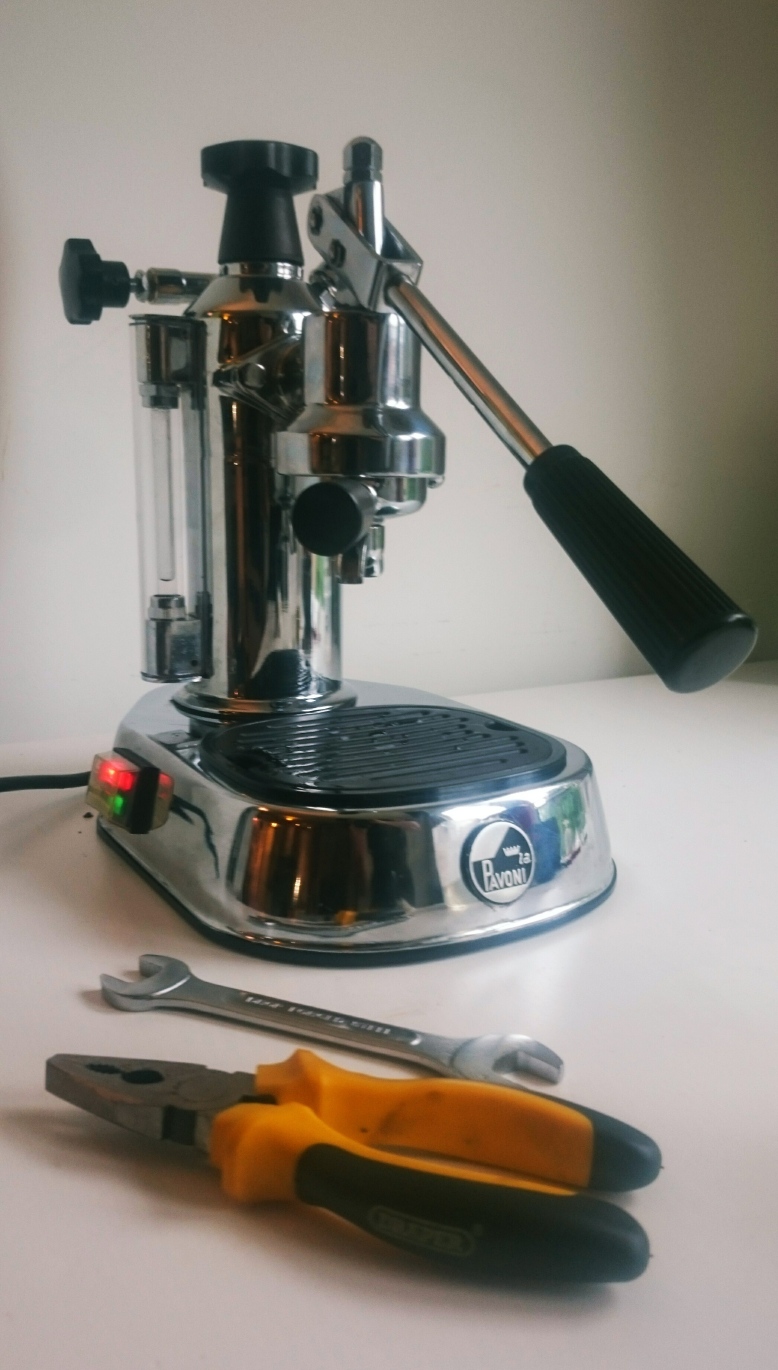
You will need:
- Flat Headed Screwdriver
- Needle Nose Pliers
- Pencil
- Replacement seals
- Set of Spanners
- Allen Key
- Lubricant (Molykote 111 is what I use)
- Espresso Machine Detergent
A note: Replacement seals are easy enough to come by. You can often find your local dealer or even sellers on eBay offering home service kits. Alternatively, you can purchase the seals individually if it is only the group that you will be rebuilding.
The Breakdown:
Start off by grabbing yourself a bowl or some place safe to put all of the bits you’re going to be disassembling. Nobody likes losing their nuts.
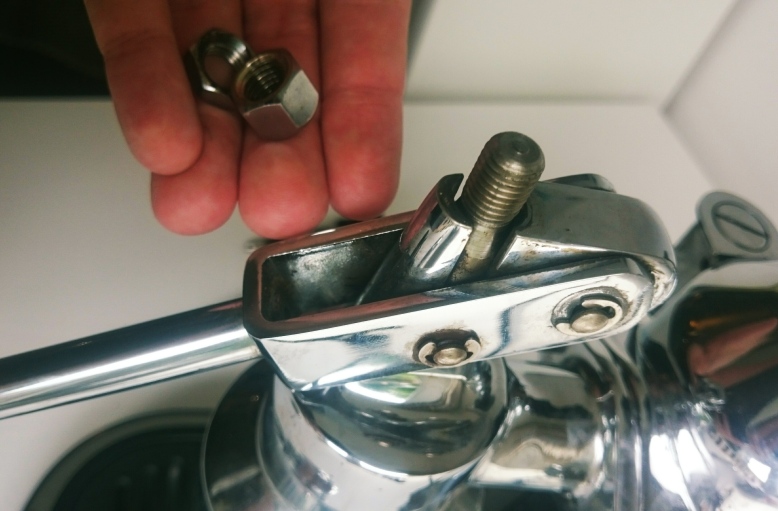
First of all, begin by taking the top nuts off with your spanner.
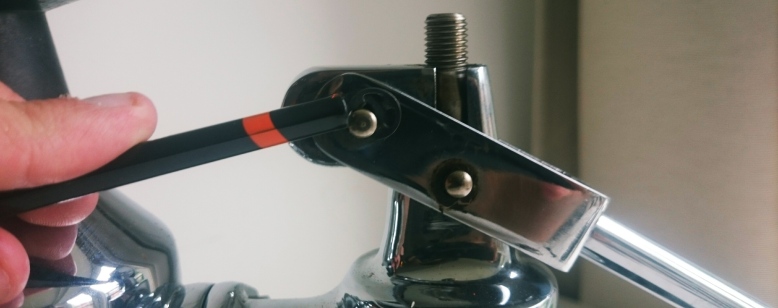
Next, loosen off the lever clips to get at the lever pins. I do this with the bottom of a pencil. It’s wooden to won’t scratch the machine like metal tools will, but if you’re feeling tough, it can be done with your fingers. Lever pins out, place them with the clips safely into the bowl.
Take lever off, set it aside.
Remove the group from the boiler. Take out the bolts sequentially, loosening each one a little at a time until they are ready to be removed.

I always spin off siphon tube, as it makes the following steps much easier.
Scrape out old group to boiler seal, this one shouldn’t give you much trouble.
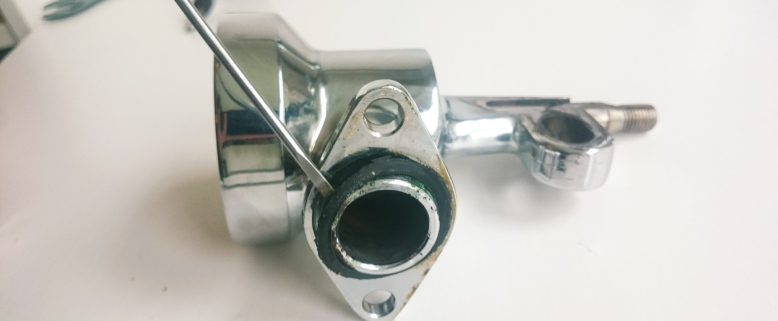
The group gasket on the other hand… Depending on when you last service your machine, this can be a real pain. With a little elbow grease and patience however, it can be conquered. I usually start with a small flat head screwdriver, and chip away at the old rubber, burrowing down into it. The aim is to chip out a section of the gasket so you can get a purchase on the thing and then yank it out. Obviously this destroys the gasket, so I wouldn’t recommend this if you don’t intend to replace the seals.


Once out, you should be able to remove the dispersion plate to reveal all manner of sins underneath. This machine was particularly filthy.


Pop out the piston and set it aside for cleaning.
Peer inside the now hollow group, and you will find the rod seal. Get those needle nose pliers in there and give it a pinch to remove the clip. Pull out the four hole washer, dig out the seal and your done. Good job.


The Clean:
Time to get those crusty objects sparkling. My method for this is easy, take your espresso machine detergent of choice (plenty of brands on the market) and let your various parts soak for about an hour in warm water. Give them a scrub, rinse them off, and the should be as god as new.
The Rebuild:
Get your lube and a towel to hand, this part can get messy: begin by lubing up the piston seals individually, this will help them slip on and ensure a nice clean movement of the lever when you are eventually pulling your shots. Take care not to get any inside of the seal. You should notice that the seals are slightly angled, you will want to fit them so that they both narrow in the middle and flare towards the top and bottom of the piston. See the photo below:

Work it in with a blunt object by pressing the closest edge into the piston gap. The whole seal should begin to twist about. Do this the whole of the way around and then repeat for the other seal.
Next up we’re going to rebuild that rod seal. First up, the rod seal washer goes in, then the four hole washer, then the clip. The clip can be a little fiddly, use your needle nosed pliers in one hand and use the other hand to push it in. Check it’s all in there snuggly.

Time for some more of that lubricant. Lube up the rod, and add a small amount to the inside of the group. Also apply some between the seals on piston.
Time to put it all back together.

Insert rod through the rod seal with a wiggle and push it down with your thumb. The top seal will catch, so work the seal around the outside with a flat headed screwdriver until it fits inside the cylinder and push. The piston should slide on up.

Next up, align the hole in the rod with an allen key so that the allen key sticks out perpendicularly.

Grab your lever, and align it with the rod hole. Make sure it is facing the right way; I am ashamed to say that the first time I put together one of these machines, I put the lever on backwards. You’re better than that. Add a clip to a lever pin and then insert it, adding a clip to the other side. Next insert the roller add other pin. Replace the clips either with a pencil or your fingers.

Nearly there. Top nuts next. They should go on nearly all the way, but keep an eye on how high the piston goes inside of the group. You should be able to see a smidge of the seal. When you have the piston in it’s correct place (usually a few turns back from their tightest point) tighten them against each other.

Just a tiny bit of the seal showing on the piston.
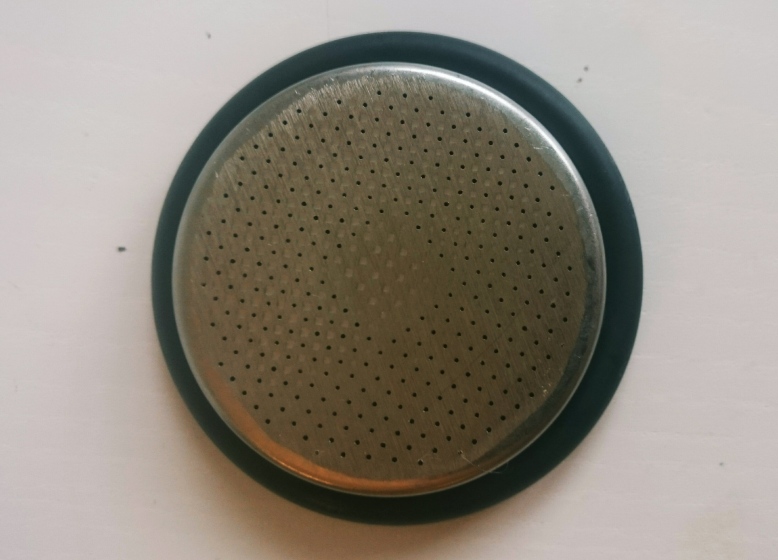
When that’s all done, the group gasket goes over dispersion screen and installs as one.
I use a flat headed screwdirver to prod it in all of the way around giving it a bit of oomph to make sure it’s in there securely. Once it’s in, use your portafilter to ensure it is really secure by placing it in the group and giving it a jiggle a few times.


Pop the siphon tube back on, making sure it is aligned correctly. Then replace group to boiler seal; this will be rather loose but that’s okay as it’ll be secure once it is attached to the boiler.

The final step. Attach group back onto the boiler by sliding the siphon back in and then going finger tight on the bolts and then tightening sequentially with a 10mm spanner. Just be careful not to over tighten.
Just as a precaution, I like to run some water through the boiler and out of the group a few times before making a coffee, just to make sure she is really all cleaned out.
And you’re done. If your machine was anywhere near as filthy as mine, you should immediately see a difference in the cup quality – and that’s what it’s all about. So fire her up, sit back, and enjoy a great cup of coffee.
